



Clean
Remove common types of image noise
Reduce sensor noise, high-ISO grain, film grain, and digital artifacts in color and luminance channels while keeping the original scene intact.
Clean up a noisy night shot, old scan, or compressed upload while keeping faces, edges, and the photographic texture that makes the image feel real.
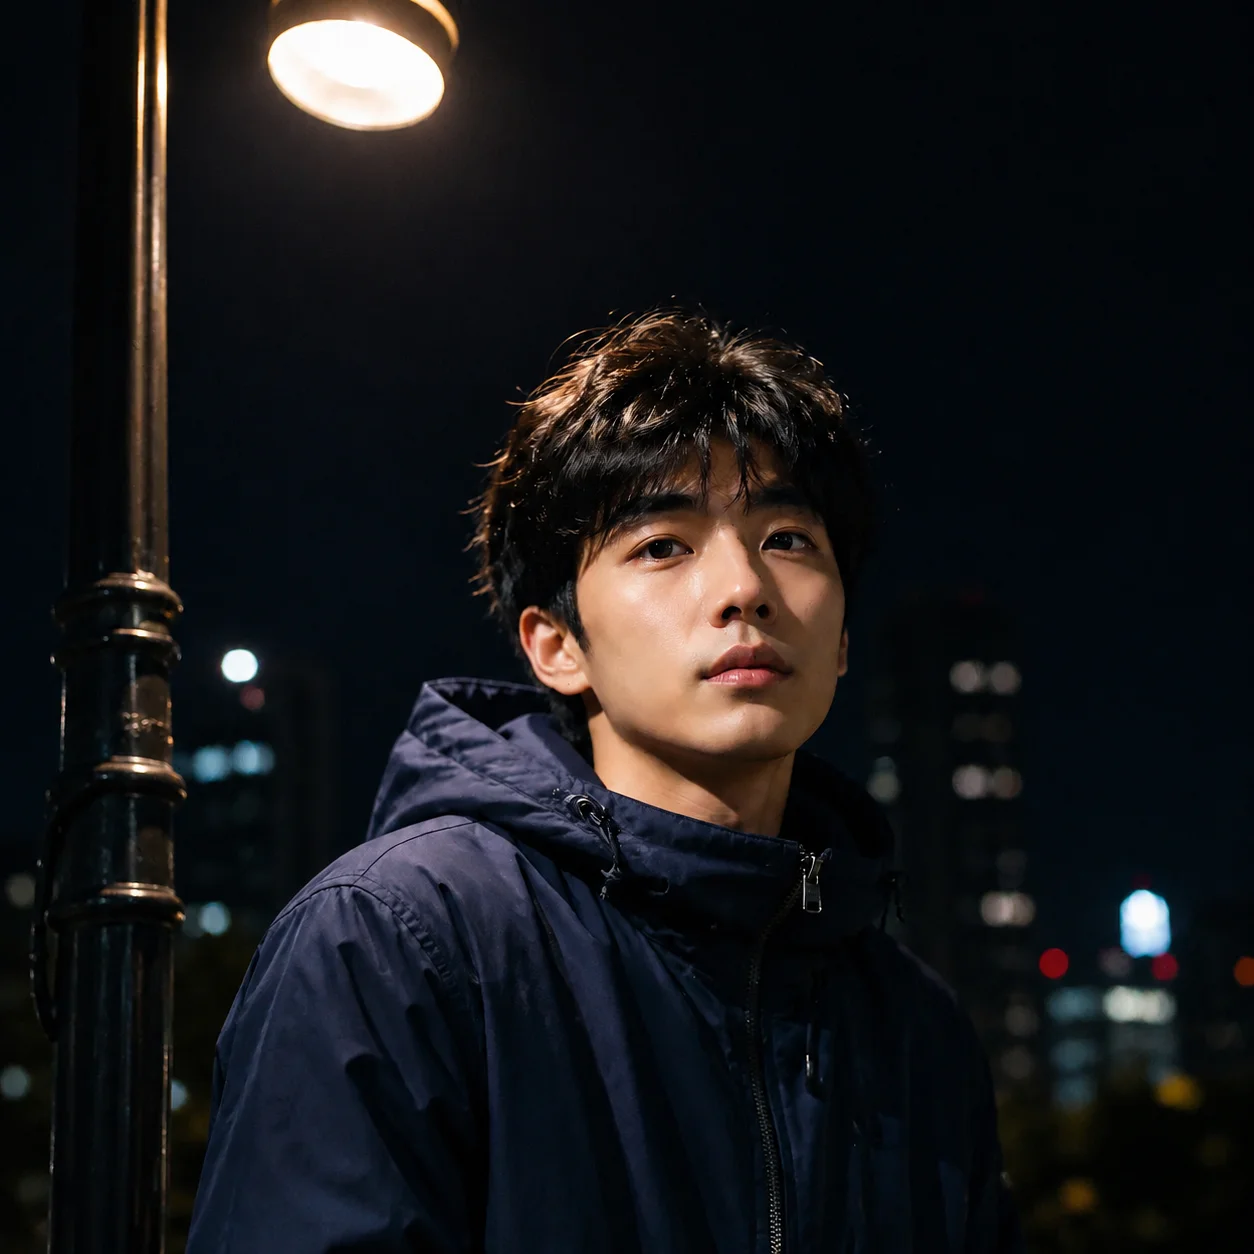

Compare each noisy original with its cleaned result. Look at shadows, skin, scan texture, and compression blocks—not just whether the image looks smoother.
NoisyDenoisedReduce grain while keeping edges and subject detail
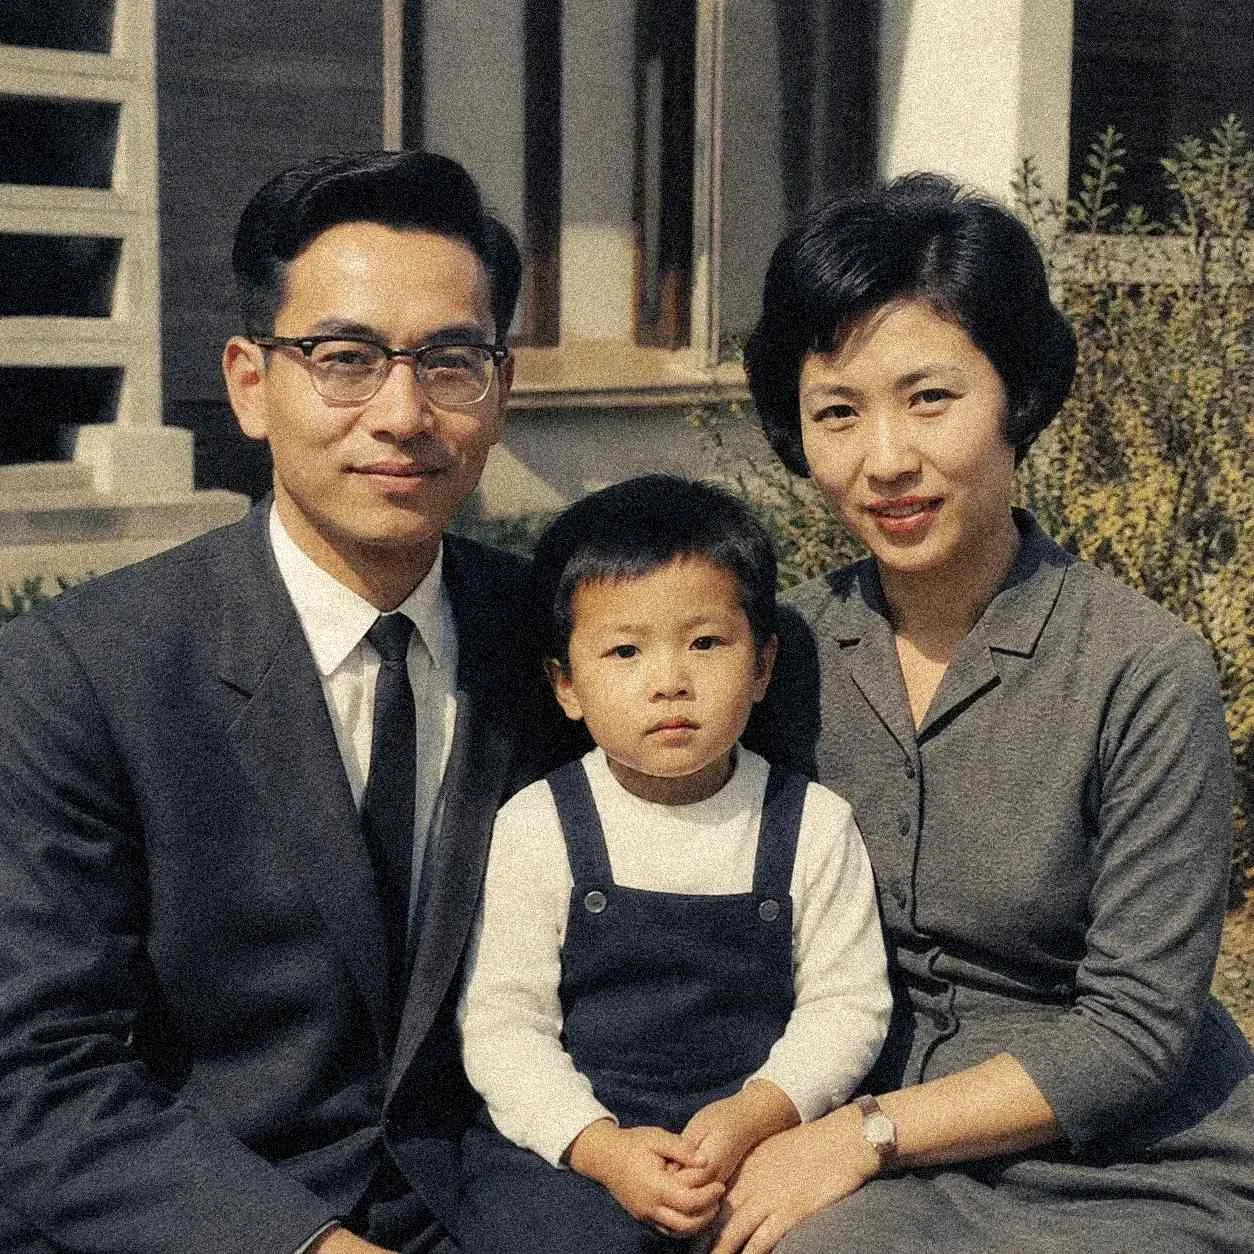 Noisy
Noisy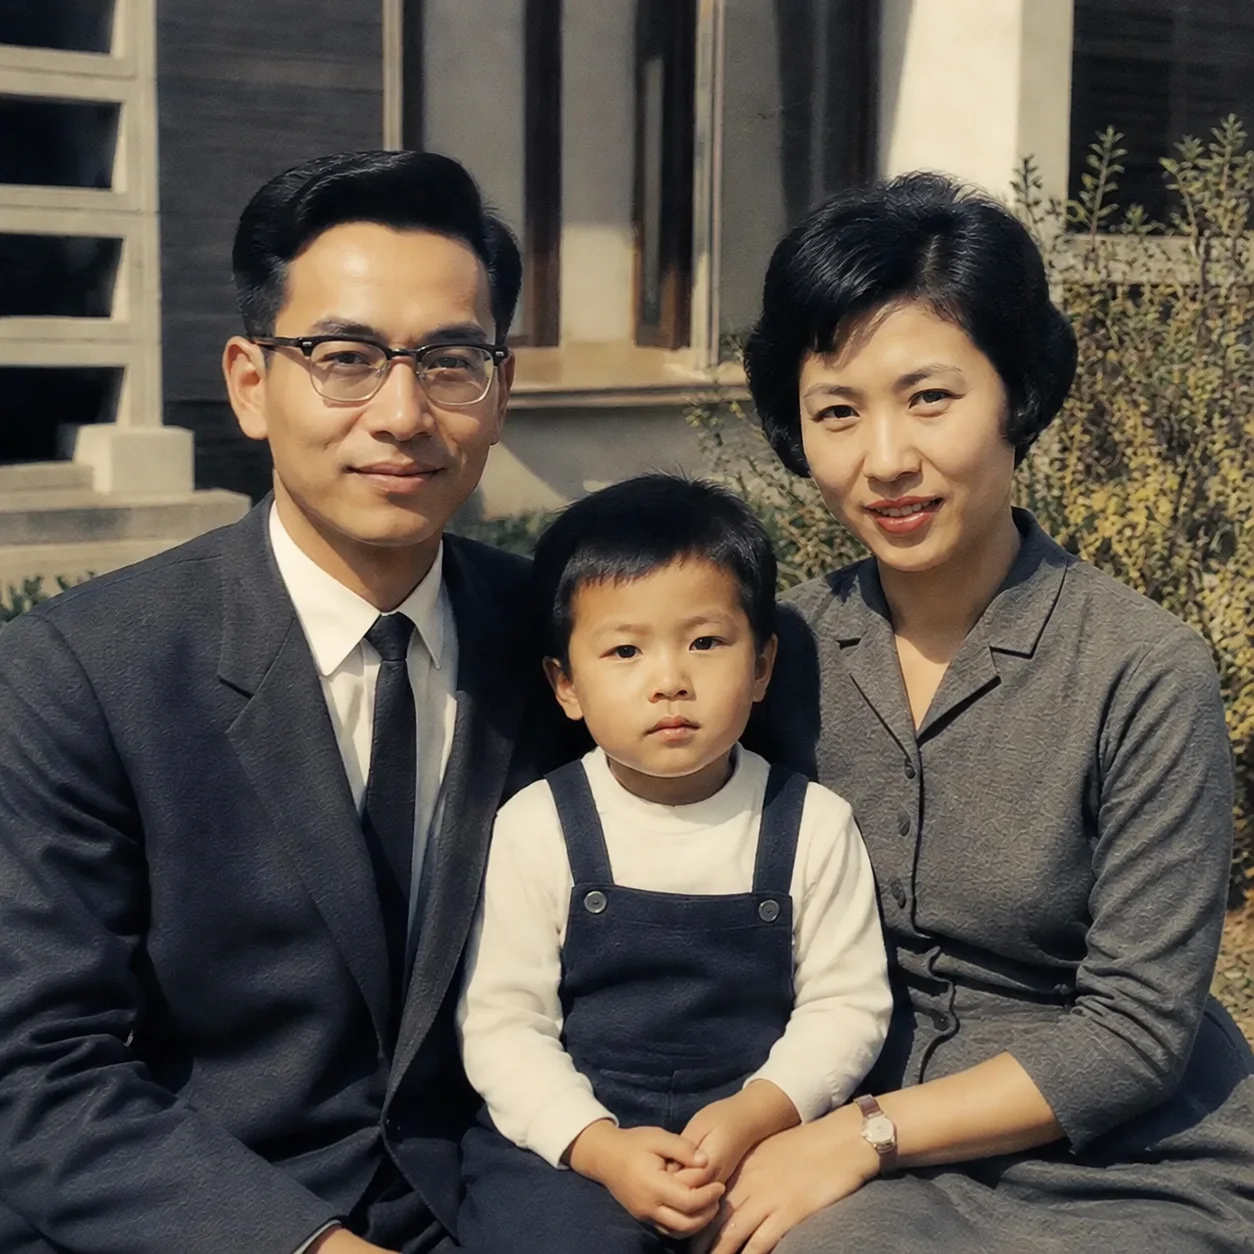 Denoised
Clean the scan without flattening the original image
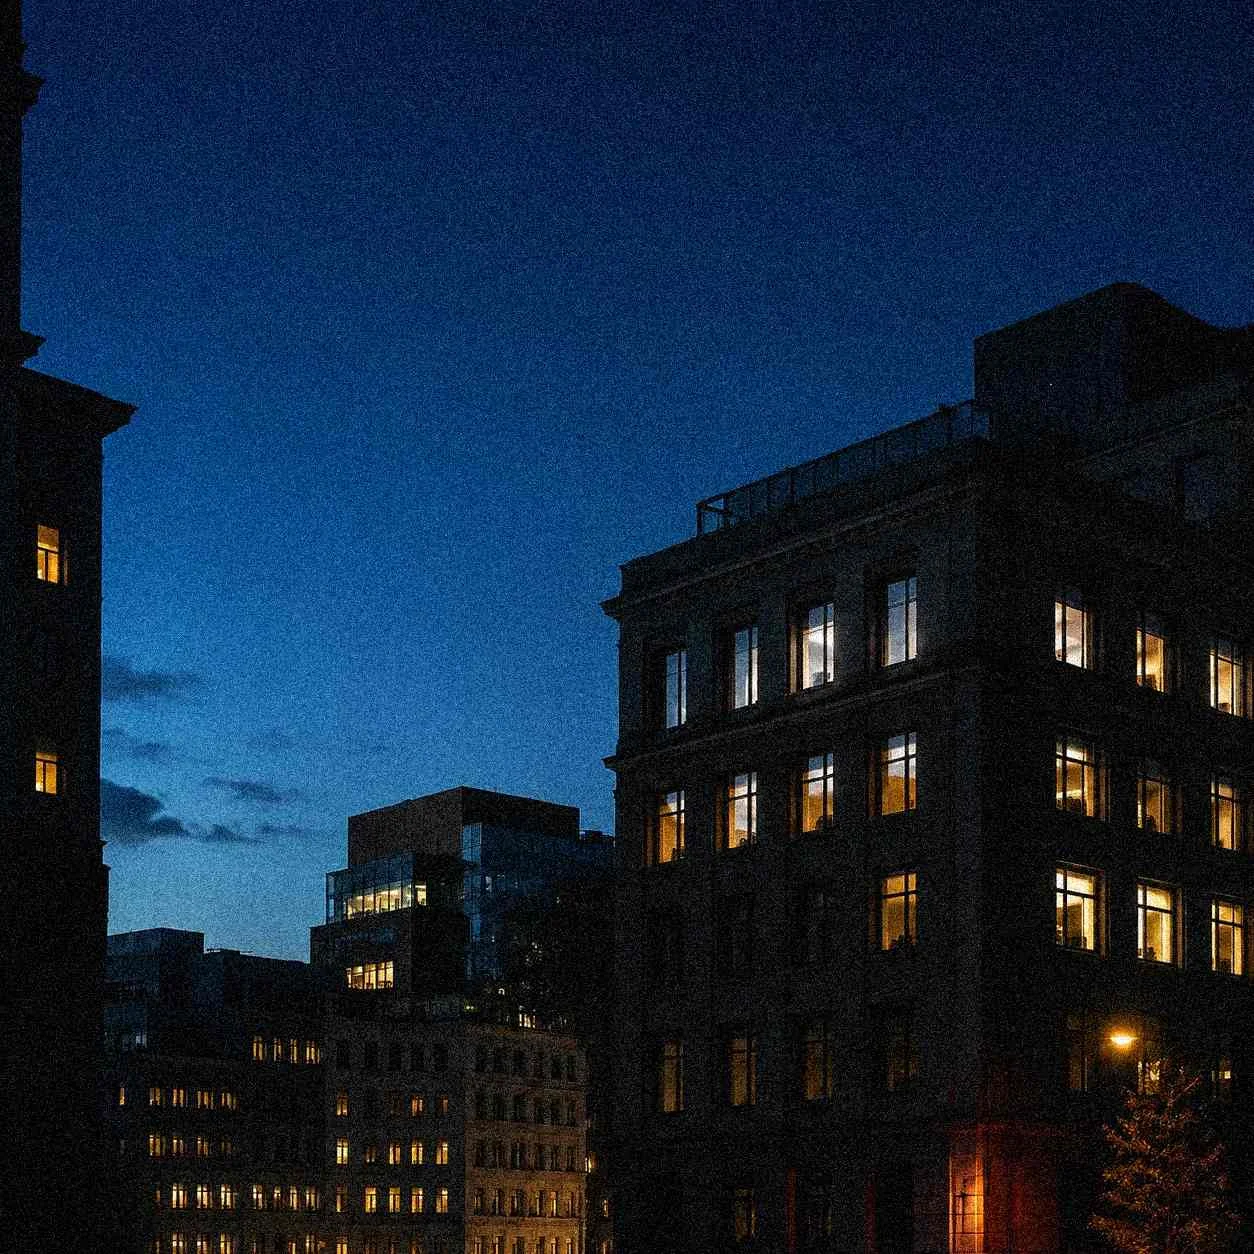 Noisy
Noisy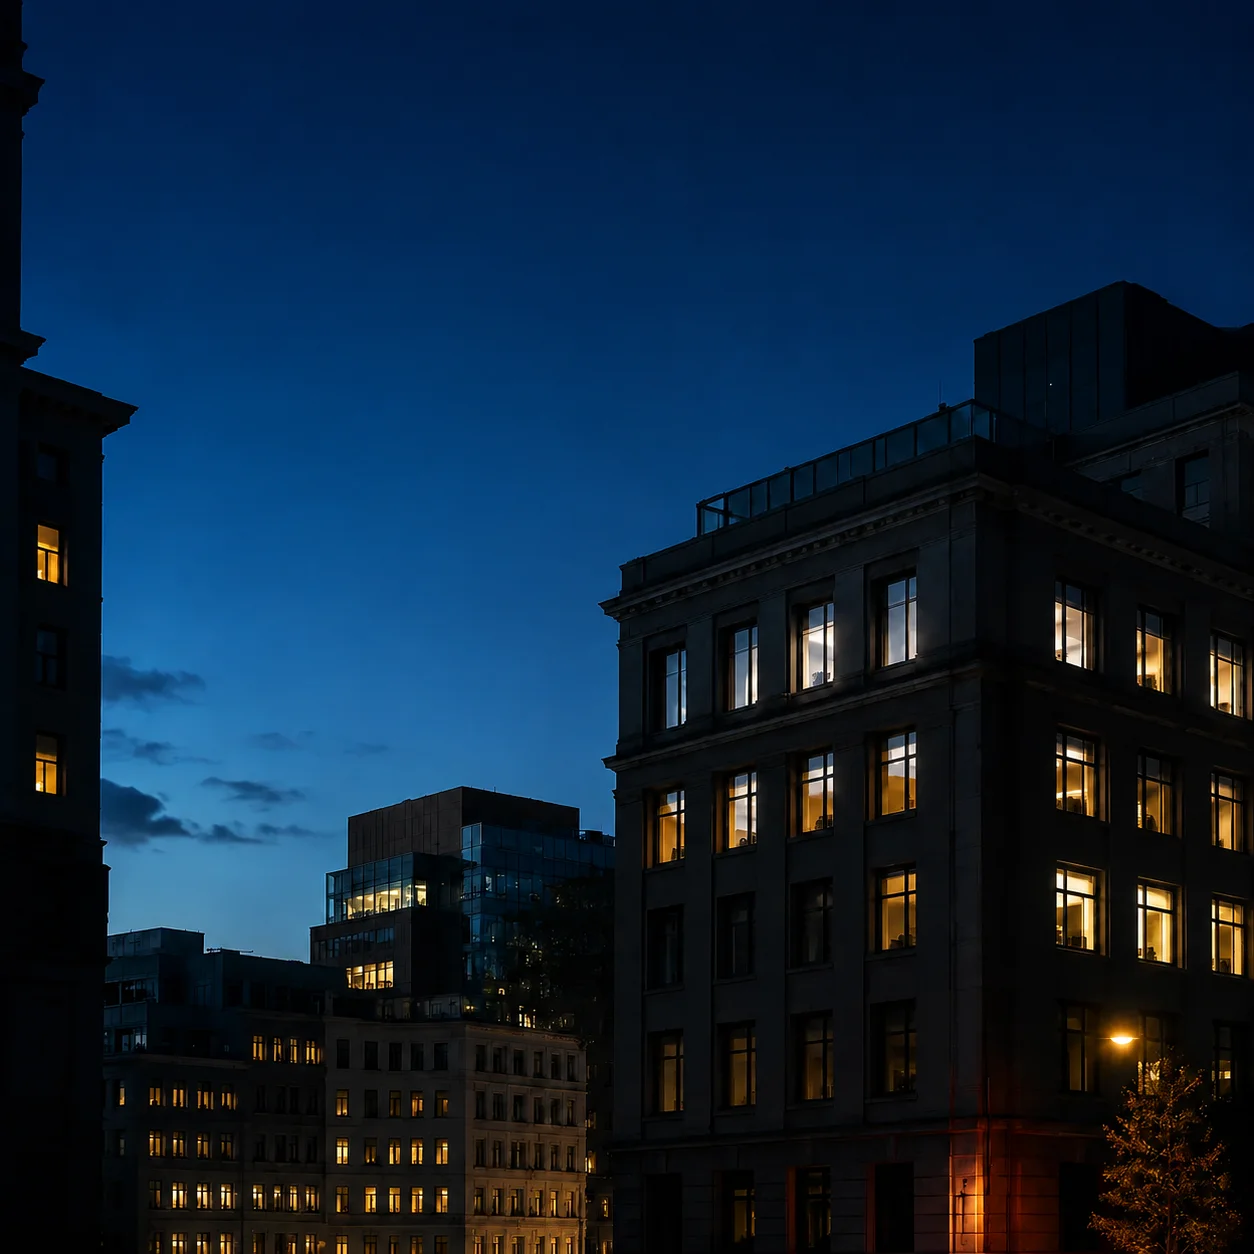 Denoised
Reduce compression noise before reuse or print
How it works
Upload the noisy source, confirm the quote, process it, and inspect the result at the size where you plan to use it.
Choose a PNG, JPG, or WebP with visible grain, low-light noise, scan texture, or compression damage.
Confirm the quote. The model reduces noise and artifacts while protecting edges and genuine photographic detail.
Review the noisy original beside the cleaned result, paying attention to shadows, skin, text, and fine edges.
Save the result as PNG or JPEG, then continue to upscaling or background removal if the project needs it.
What denoising is for
Reduce grain, noise, and compression artifacts while protecting the genuine texture that makes a face, scan, or low-light photograph believable.
Clean
Reduce sensor noise, high-ISO grain, film grain, and digital artifacts in color and luminance channels while keeping the original scene intact.
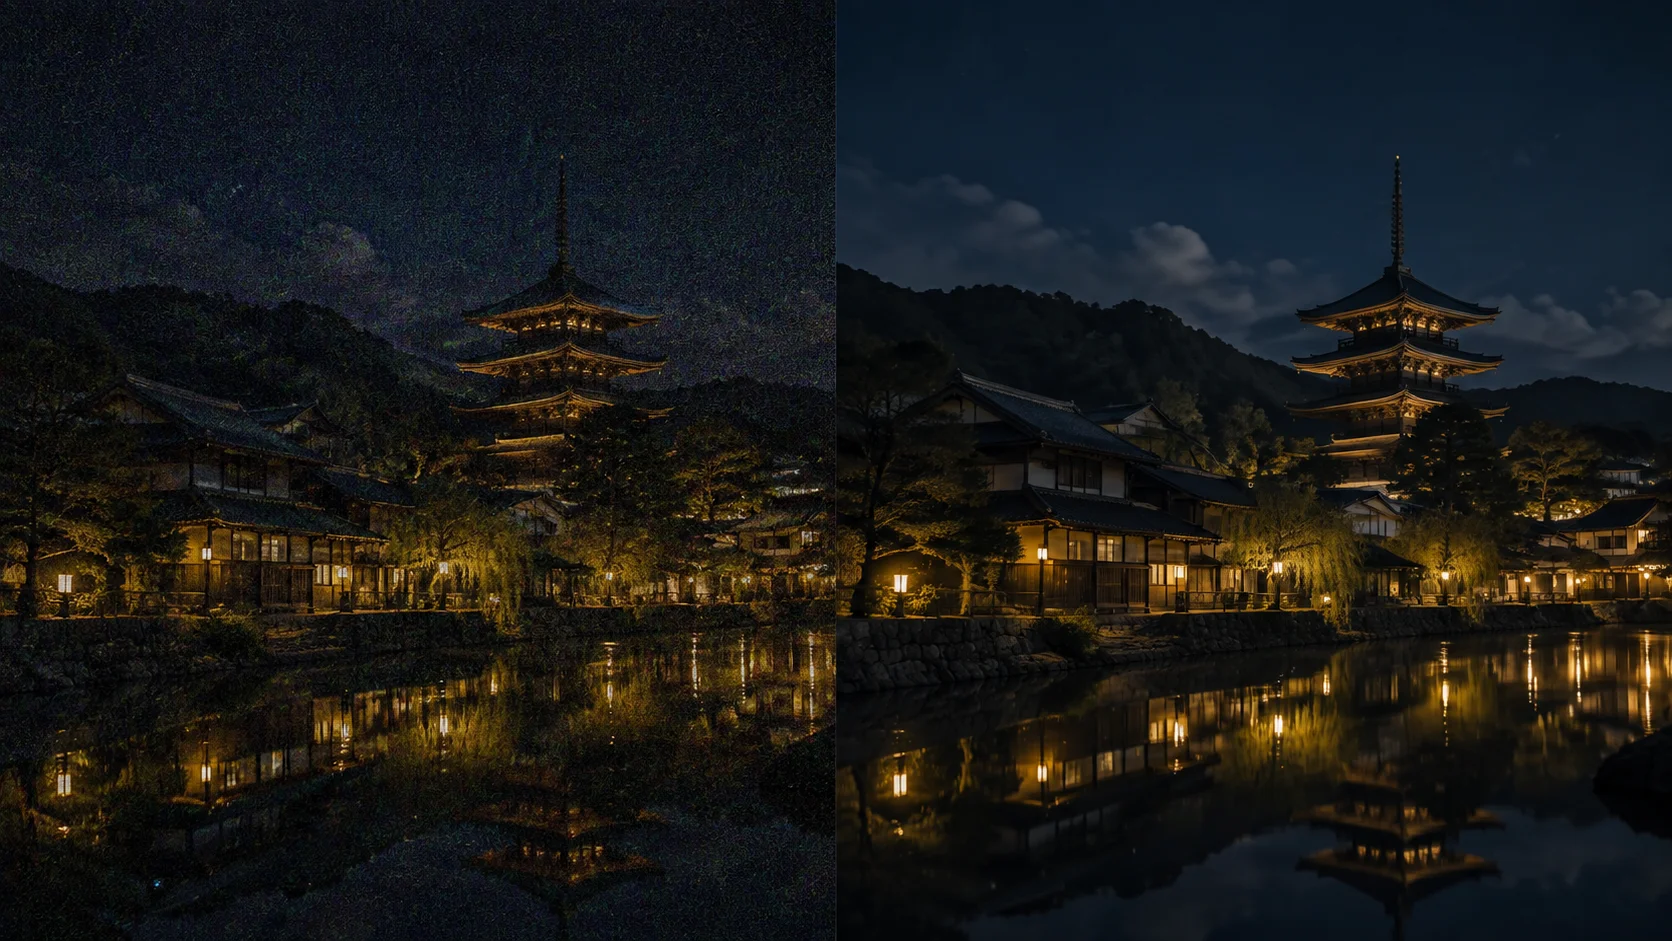
Low-light
Reduce grain in night scenes, indoor shots, and high-ISO photos without pretending denoising can restore exposure or focus that was never captured.

Preserved
Separate distracting noise from useful edges, textures, and small elements so cleanup does not automatically turn the image soft.
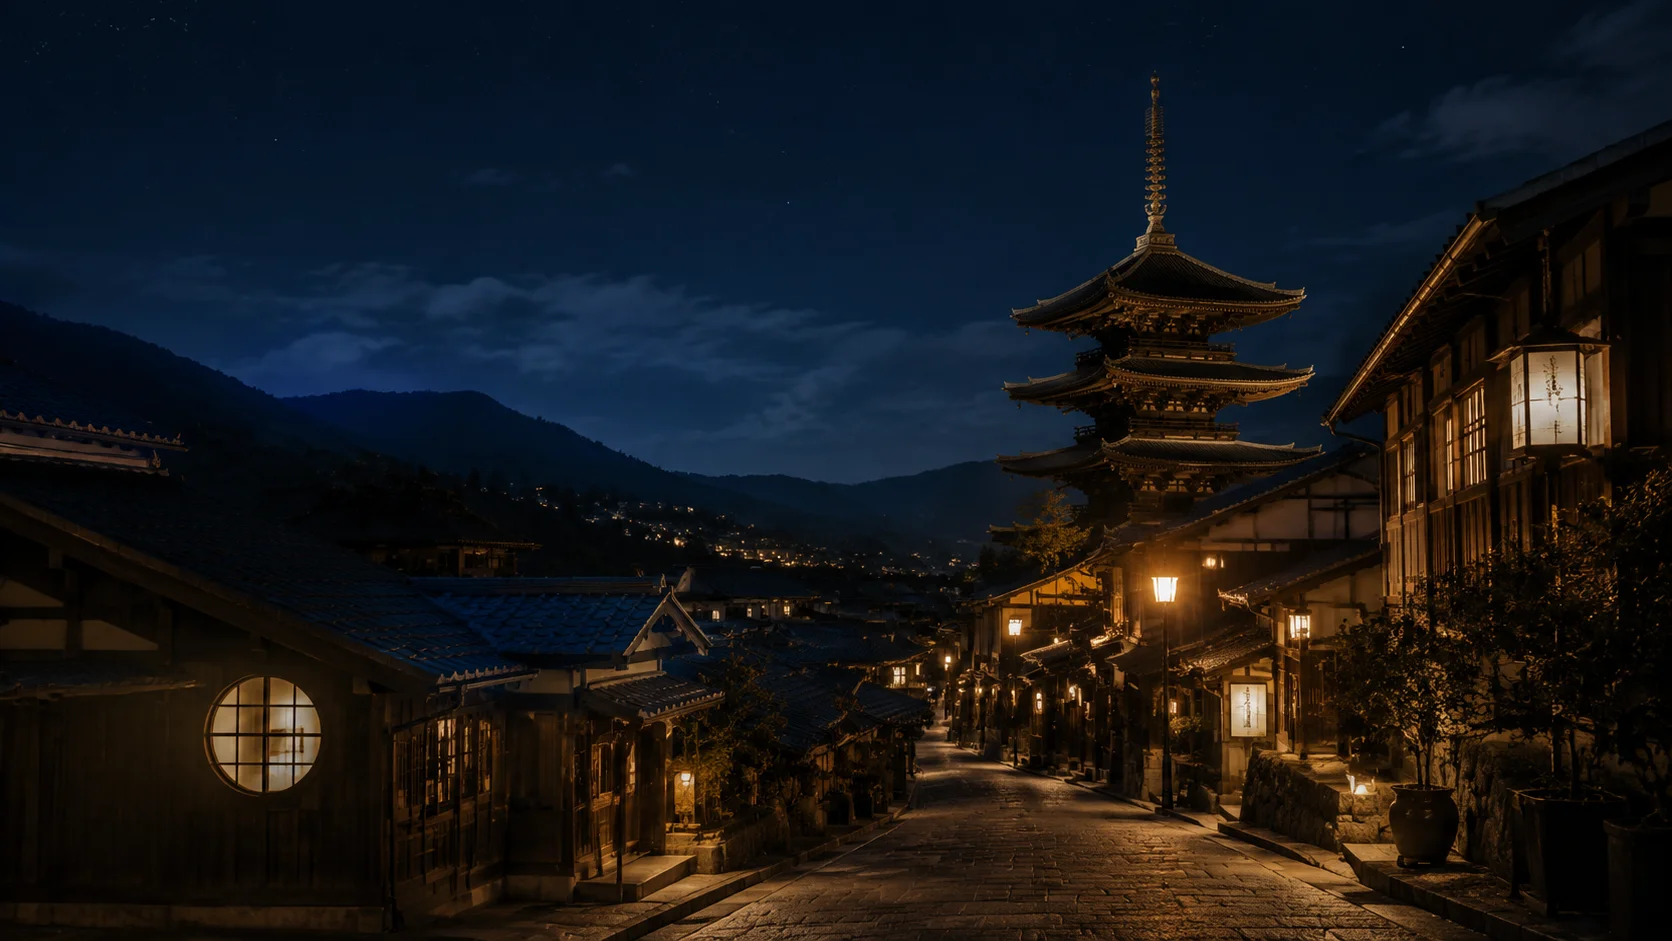
Balanced color
Reduce color speckles and banding while keeping skies, shadows, and skin tones smooth enough for editing, sharing, or print.
Denoising works best when the subject is sharp enough to recognize. Use a clean source when possible and inspect small text and fine edges after processing.
Start with usable exposure
Denoising works best when the subject is visible. Extremely dark photos may lose fine detail as the tool works harder to remove noise.
Keep as much source information as possible
PNG or a high-quality JPEG gives the denoiser more information. Repeatedly compressed JPEGs contain less recoverable detail.
Denoise before you upscale
Clean the source first, then enlarge it. Upscaling a noisy image can make the grain more obvious in the final output.
It cannot fix motion blur
Denoising removes grain and artifacts, not motion blur, focus blur, or camera shake. Those need a different restoration workflow.
Extreme noise can cost fine detail
Very high ISO or severely underexposed photos may lose some fine detail during aggressive cleanup. Review faces, text, and textures at full size.
Severe compression may remain
Extreme JPEG blocks, color banding, and digital glitches may not fully disappear. The workflow is strongest on natural sensor noise and grain.
Denoising costs 16 credits per image, regardless of size or noise level. Review the result before replacing the original.
The current workflow's supported inputs, file limits, output formats, ideal sources, and fixed credit price.
Where denoising helps
Recover clarity in night photography, archive scans, phone uploads, and compressed images before sharing or printing them.
Reduce grain in high-ISO photos from indoor events, night scenes, and concerts while keeping the subject and light believable.
Example: Fix a grainy concert photo shot at ISO 6400.
Clean film grain and scanner artifacts from digitized prints and negatives before archiving, sharing, or printing them again.
Example: Restore a scanned family photo from the 1980s.
Reduce JPEG blocks and compression noise in images saved repeatedly from websites, messaging apps, or social media.
Example: Clean a profile photo saved multiple times with heavy JPEG compression.
Improve clarity in older digital photos, scans, and low-quality archive images before preserving or reusing them.
Example: Denoise and restore an old digital camera photo from 2005.
Image denoiser FAQ
Answers about noise removal, low-light photos, scans, compression artifacts, output quality, and the detail this tool cannot recover.
Upload the grainy photo, confirm the quote, and run the AI denoiser. It reduces unwanted grain, noise, and artifacts while protecting useful detail in low-light photos, scans, and compressed images.
No. Denoising reduces grain and noise; sharpening increases edge contrast. If you need both, denoise first and sharpen later. Sharpening a grainy image can make the noise more obvious.
It can reduce grain in a low-light photo, but it does not correct exposure. If the image is extremely dark, brighten it in a photo editor first, then use denoising to clean the resulting noise.
The workflow separates common noise from useful textures and edges, but aggressive cleanup can remove fine detail in extremely noisy or underexposed images. Check faces, text, and small patterns at full size.
It fixes grain and artifacts, not blur. Motion blur, missed focus, and camera shake require a different restoration tool. This workflow is for images that are reasonably sharp but noisy.
PNG and JPEG. Choose PNG when you want lossless output or plan more editing; choose JPEG when a smaller file is more important.
Denoising costs 16 credits per image, regardless of its size or noise level. New users receive 10 free credits valid for 365 days, and failed tasks are refunded.
The current workbench processes one source image per run. If you need a catalog-scale cleanup workflow, contact us about future or enterprise batch options.
Ready to clean the source
Clean a noisy source and inspect the result before you share or print it, starting with 10 free credits.